Month: January 2015

Boromir – The Surcoat Continues

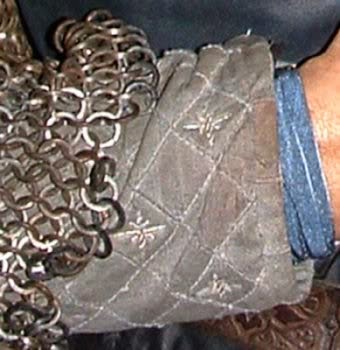
Another Boromir update! The above shot, from AlleyCatScratch.com shows the waist detail. I started by chalking a guide line on the inside of the piece, folding it and stitching it at 0.5cm. Each of the four pieces were prepped like this.

The four pieces were then sewn together with the seams being pressed open. The centre back seam was stitched to just below waist length and left for the back split. The side seams were sewn to hem length.
Once the four pieces were sewn together I fitted it to my model, over a thick jumper and the chainmail. It needed taking in on the centre back waist and sides, so I marked it up and did all the adjustments, then trimmed it to just above his toes.
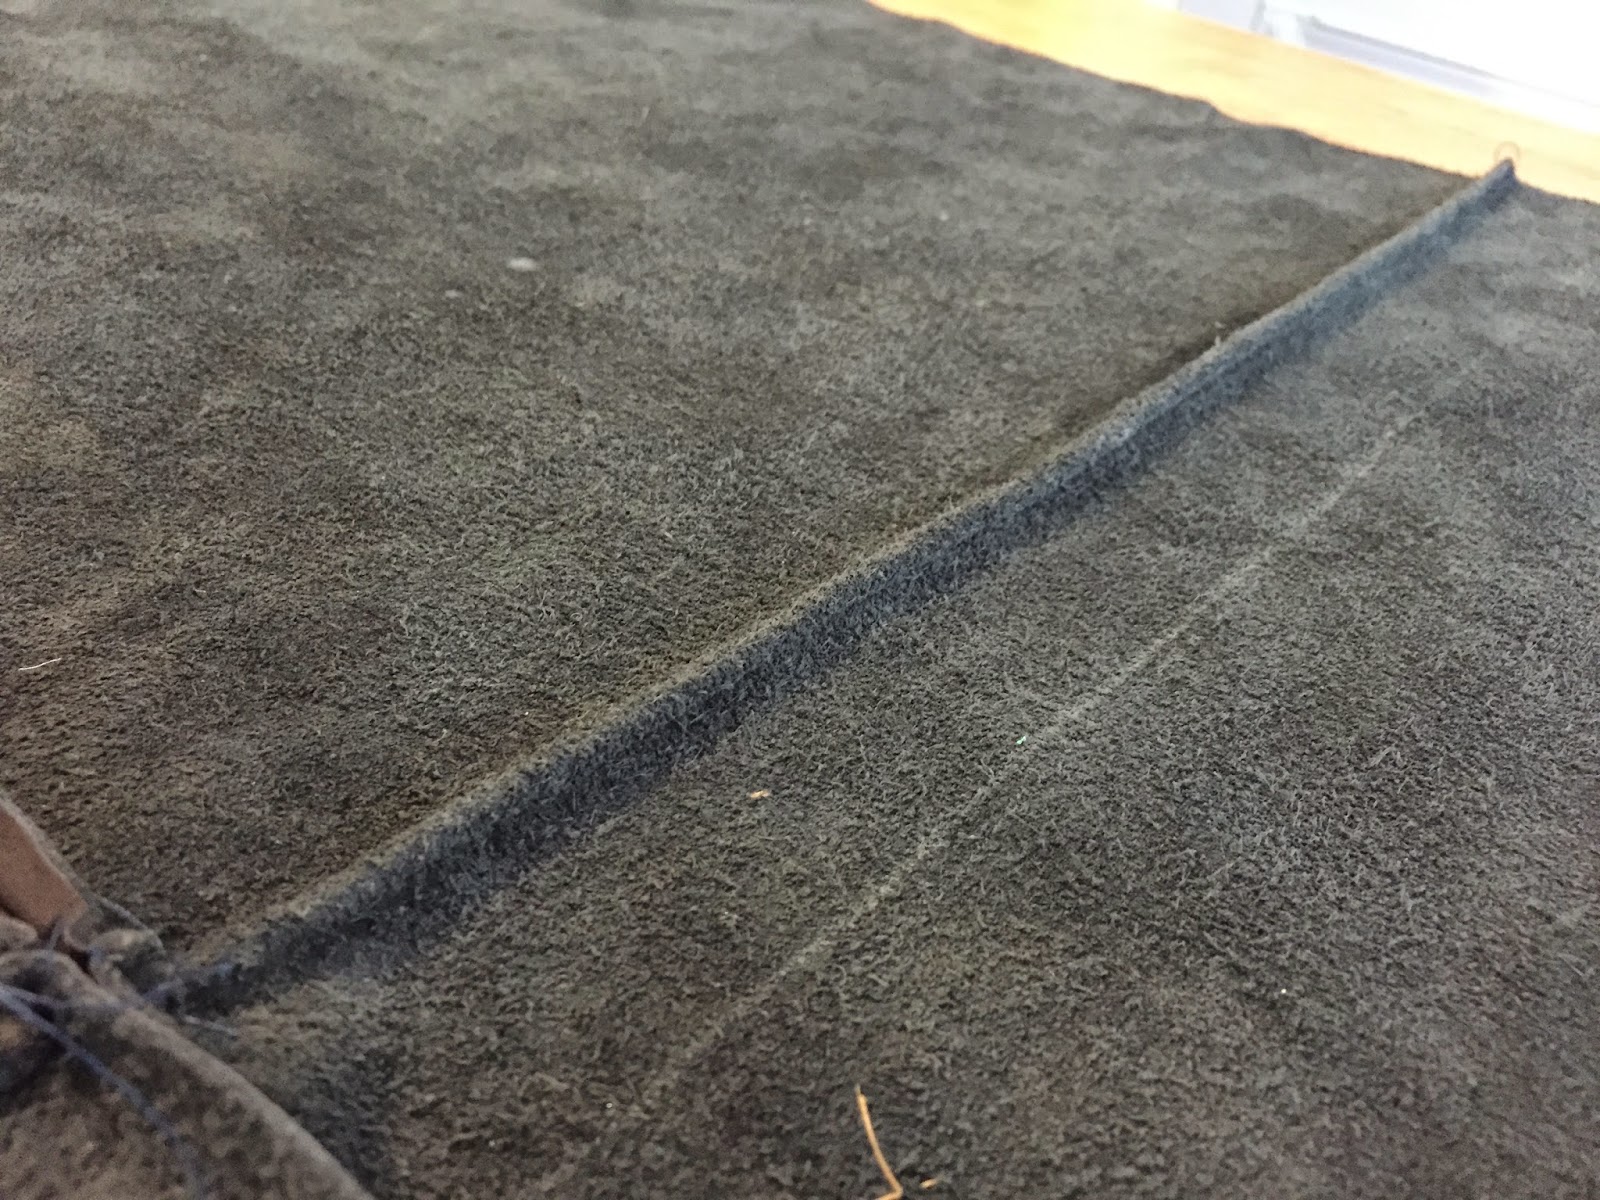
Once I was happy with it I looked at the edging, shown here – 

Aside from the trim, which I still need to find, this has what looks like a slight piped edge. I found very thin piping cord and rolled the edge around it to create this –

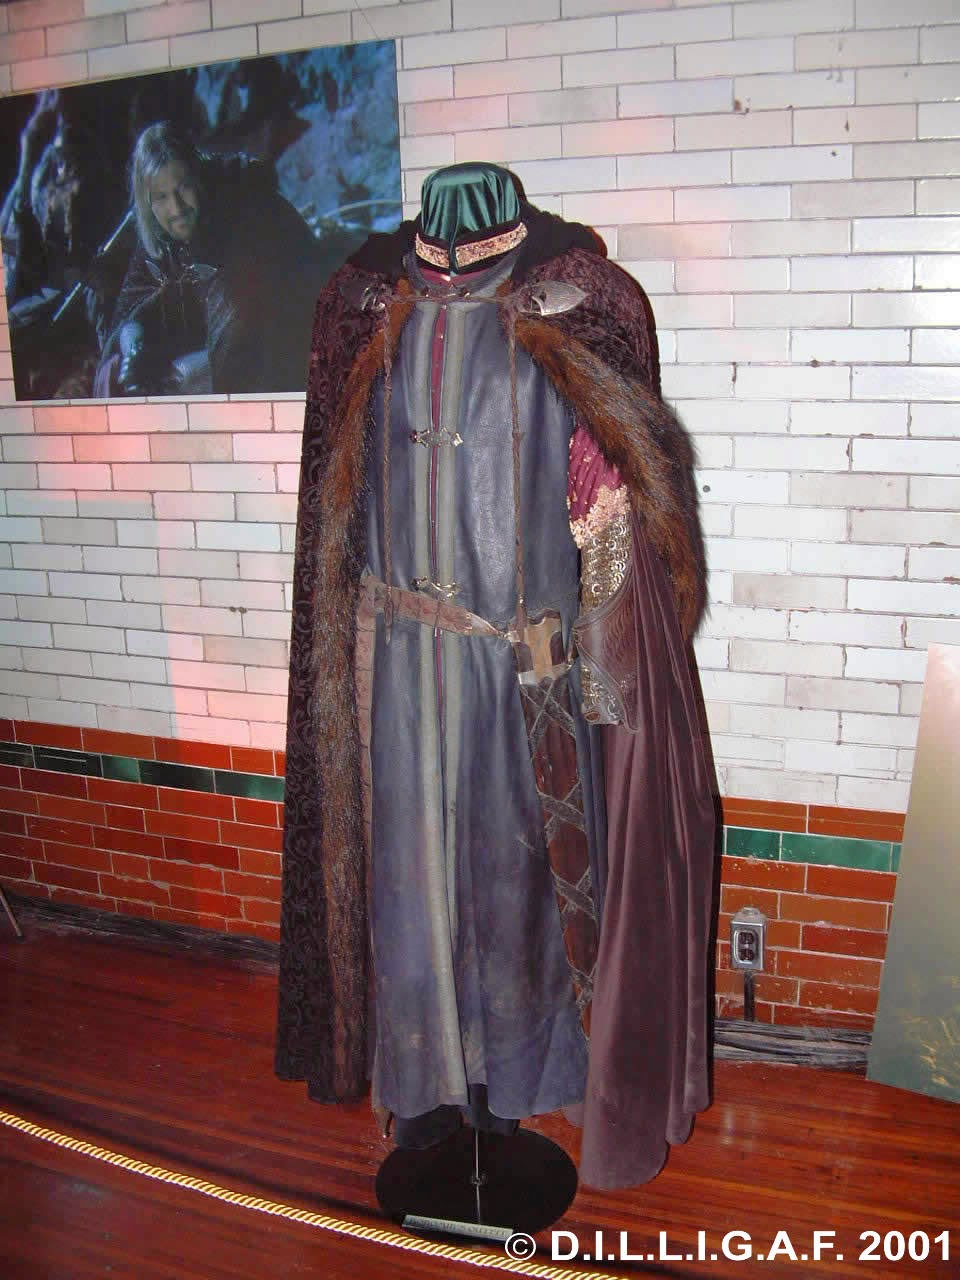
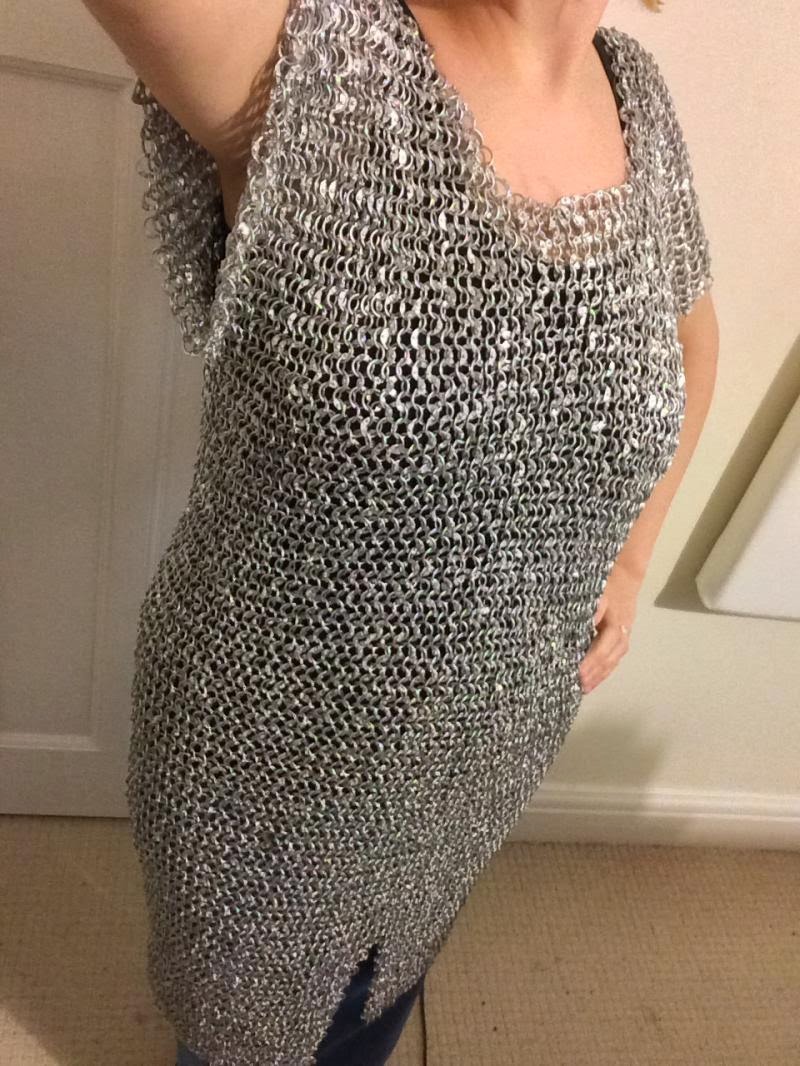
Full back and side shots over the chainmail, after adjustments – I now need to do the shoulder pieces and the basic construction will be done. 

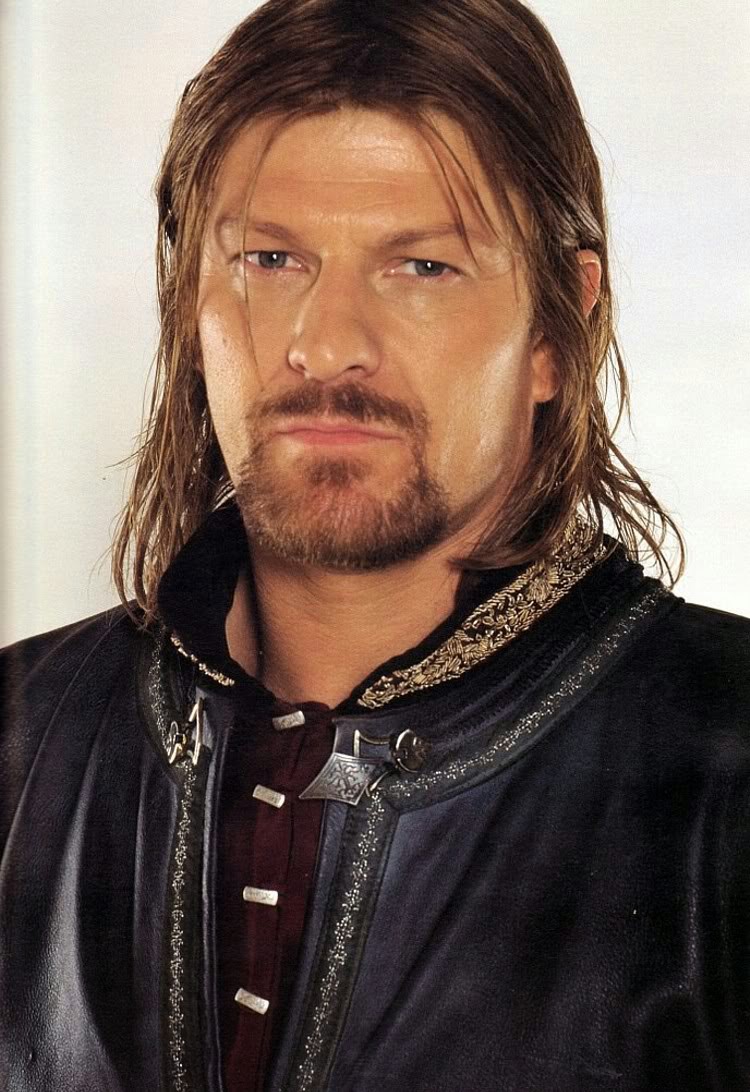
This screencap from the film shows a cap sleeve (If anyone can remember the correct term, shout me, it has slipped my mind right now!) and a relatively narrow shoulder, then yet more trim. Now the cap sleeves are on it just needs hemming, the decorative stitches adding to the waist and the trim adding. I’m considering embroidering the trim as I have yet to find anything close.
Next up – To London! Fabric sourcing for the gambon, overshirt and trim! 

Eowyn – Dernhelm, The Cloak Dyetest #2

Dye Test #2 – Again with leftover dye from other projects! RIT Dyes Golden Yellow, 4fl, Evening Blue, 2fl and 1fl of Black.
It’s now perfect for dirtying down and distressing, and a definite improvement on this – 
I may put it in with a watered down black to take some of the shine off of it, but I’ll see about that when it’s shaped and made up.

Willy Wonka & The Chocolate Factory – Waistcoat & Bow Tie

“So, you’re trying to replicate my costume? Please, tell me how that’s going.”
I love the Gene Wilder ‘Willy Wonka and the Chocolate Factory’ movie. I love it. So imagine my sheer joy when a client asked me to make him a Wonka Waistcoat and big ass bow tie! First stage, as ever, was reference –

From the Dreier Collection catalogue
Here we can see the majority of information needed to come up with a pattern. Starting with the client’s block, I created the custom pattern, turned it into a cotton mock up, and sent it off to the client for fitting. Photos were taken, adjustments were made, and so the process continued until I had a toille that looked good and fit my client.
Next up was fabrics! This fabric was obviously not going to be available to buy at my local fabric store, so Spoonflower was a good option. I opted for the cotton silk and I’m so glad I did – it has a beautiful handle to it! It didn’t have the silver lame’ incorporated, so I went looking for a suitable trim or handpainting option. I also opted for a slightly weightier back fabric than dress lining.
Spoonflower print with trim, lining and buttons

Assembling the front pieces – applying the trim, making sure it’s on the same side of each black panel. The lining is faced with the stripes going horizontally across the collar so when it is rolled it will look vertical. It is vertical around the armhole and pattern matched to the right side.
Horizontal collar facing, vertical armhole facing

 
The bow, which here photographs darker/greener than it is, with buttons

The bow was fixed in shape. It started life as a tube of fabric, stitched and pressed, then folded into the correct shape with a separate band stitched around the centre to secure it. The tails were then cut at an angle and hemmed by hand. This bow is raw silk and as such holds its shape beautifully! Colour wise, it is darker than that on the catalogue picture, but was an excellent match to the source photo I took shopping with me. Part of this will be the difference between how something actually is and how it appears on screen, particularly colour, which is affected by everything. If I were to redo this I may go for slightly lighter, but I do love the way it brings out the rose gold in the buttons. I will put this onto a collar band and consider it finished.
This is the back facing, where I attach my label. I love putting handpainted labels into my projects. These are generally backed with the main garment fabric and topstitched in contrast thread as a panel onto the back lining. It’s a personal touch, and I never get tired of seeing the different fabric combinations.

Sometimes I machine embroider names, or messages, depending on who the project is for.

That’s it for now! I’ll update with finished photos when I can. X

Boromir – Fellowship, Surcoat Begins

Sourcing materials! Dark blue leather, brown leather and chainmail.
The entire skin is larger than my cutting table!

Surcoat patterned and cut – I’m going to add in the waist seam for strength and the decorative top stitching. I’ve also patterned the gambeson and acquired a horn and replica sword.

Next stage: Sourcing the other materials. To Goldhawk!

Boromir – Fellowship Outfit, Referencing

Building this alongside my Eowyn build (and a few million other projects) – Boromir’s outfit from Fellowship of the Ring. Photos sourced from AlleyCatScratch.com

Dark blue (some sources say black, it always looked blue to me) surcoat, red undershirt with dark red or black collar and heavily embroidered sleeve cuff.
Padded silver gambeson – This is never actually seen given that it’s covered by chainmail, gloves, gauntlets and the over shirt. It’s still damn pretty though, and protects from the chainmail.


Here you can see the chainmail sleeves are actually attached to an undergarment to save on weight. I may do this at some point but for now I’m using full body chainmail.

This is the full costume, worn with his first cloak instead of the Lothlorien cloak.

Eowyn – Dernhelm, The Cloak Begins


This is a heavy wool blanket, £13 on ebay and formerly pink! I’ve machine dyed it with half a pack of leftover dark green dye and it is now greyish. Another round or two of dye to go, then I can shape and distress it.

Chainmail! This is riveted mail in aluminium, so it looks great and won’t pull apart but it’s lightweight. This is really important to me as I have joint problems.

This set was a bargain on eBay, badly listed with a low starting price so only cost me about £70 for this and a pair of chainmail leg pieces. I’ll be using the ‘stockings’ to extend the arms. I’ll also raise the slit in the front and back.

Eowyn – Dernhelm, Referencing


Look how gorgeous this is! And also incredibly detailed and probably likely to make me swear at it a lot. First up – referencing. This is a great shot as it shows a lot of the armour detail.


Here in a capture from the film I can see she has a dark green cloak, worn over the split mail. The green tunic worn under the chain mail also looks like it is split for riding, or heavily gathered with enough excess for movement.

There is probably a padded gambeson on underneath the green tunic for comfort.


Here we have relatively plain brown jodhpurs and riding boots, albeit heavily distressed. You can also see the green tunic, tucked into gauntlets, but visible between the gauntlet and the glove. This means the gauntlet isn’t attached to the glove, which makes it easier.


Food And Cosplay – Ariel & Ursula, MCM October 2014

foodandcosplay:

MCM Expo London – October 2014

Ariel and Ursula – The Little Mermaid

Cosplayer: OddTogs [facebook] [web]

BexiBeans Cosplay [facebook]

———————————————————————

You can find more photos at

[Tumblr] [Facebook] [Twitter] [Flickr]