Month: April 2015

Buttercup – Final!

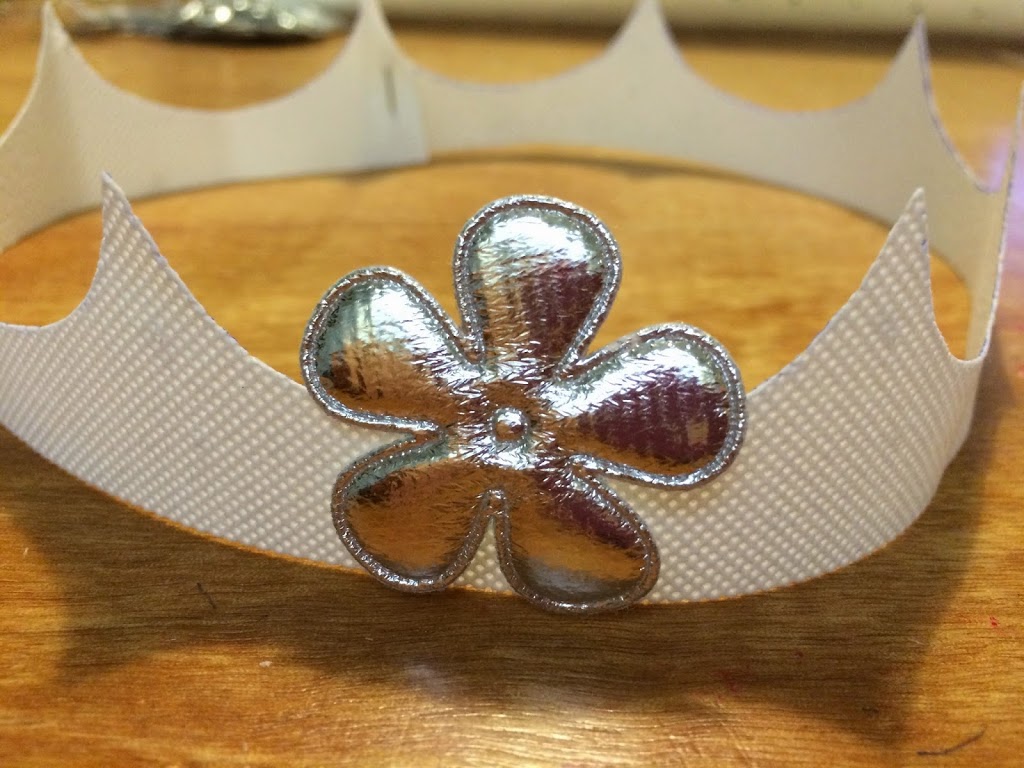
First worn at the SciFi Weekender 2015, we grabbed a few shots but will undoubtedly get a few more soon enough! The wig was styled and the crown attached to it for security. Then I added the flowers around the base, which is what gives Buttercup’s crown a busier feel in the movie as opposed to the way it looks in the exhibit.

My sweet Westley played by Leo Chell.

 
“Mawwige.”
“As you wish…..”
“We can go live in the fireswamp!”
“Wtf?”
 
And finally… To the pain!

Buttercup – The Jewellery

The crown begins! First I created the shape, using a heavy duty plastic interfacing. I covered it with silver lame fabric and sized the gaps against one of the large, padded flowers I bought for the dips.

Then I acquired narrow Russian braid to edge the crown. This was applied top and bottom to emphasise the points and creates a 3d effect to the crown. On the original the braided edge and base piece were probably metal, so I’m trying to recreate that effect with fabrics.

This, when it had all dried, formed the base crown. Then it was time to embellish! Buttercup’s crown has large flowers between the points, smaller flowers underneath the points, and three spikes above the points.
These padded flowers were chosen because of their raised edges. I painted the back of them silver as they would be visible above the base crown, then flattened some bead caps to create the gold centre pieces and finished it with a large Swarovski crystal.
Side point – I am a Swarovski snob. I love them. They capture and reflect light just beautifully, and far more effectively than other crystals or cheap diamante. If you don’t believe me, go watch the live action version of Cinderella.

These were the smaller flowers that would go in on the centre of the spikes. These are metal flower bases. I threaded a pearl on a ball-end pin and secured it with a dot of superglue. This was then threaded through the crown and the pin at the back was used to secure the triple spikes.

Above – All flowers installed, next up is the spikes! The centre spikes are larger than the side ones but are basically the same pattern with slightly smaller beads. 


Compared to the crown, the necklace was simple –

 
Flat oval pearls and a fake pearl drop piece to start, then a flat base piece to attach everything to. The final moonstone centrepiece was glued in place and all finished!
Then the wig arrived… Couldn’t resist trying it all on! This hair and makeup test was taken before the crown and dress were completed. It was actually a challenge, as my usual makeup style is quite contoured and Buttercup has virtually no makeup.

Really pleased with the result! Now to put it all together….

Buttercup – Beading Begins!

Previously on All My Sparkles: The base dress is done and the first round of applique has been glued in place. I’m happy with the fit, and have slowly been gathering pieces required for the crown and jewelry. What needs to happen next is the beading on the dress though. There’s a lot of it!

I decided to go with ivory pearls rather than optic white and have stuck with this throughout.

Once I’d got this far with the beading, the giant white space over my chest was becoming really obvious. It definitely needed filling. I found some decent silver applique pieces, though when they arrived they were really bright in comparison to the rest of the costume, so I put a layer of paint over them.
Above – Before and after reshaping to better fit the dress. Below – After painting it blends in much better with the other pieces.
Each bead is placed on a white translucent cup sequin and then stitched in place. I used the same sequins on the shoulder pieces to blend them in where there were very obvious silver sequins originally, and added more pearls.
The top of the oversleeve splits also have small pearls on each side.

The underdress Buttercup wears is a scrunchy affair. To do this I bought silk chiffon, soaked it, scrunched it and left it to dry. I heat-set the pleats, created narrow piping from ivory satin and attached it to the overdress at the front and back.
Below – Close up of the piping – I embellished this with a ric-rac ribbon and small pearls.

Quick trying on session to show the fit and size of the skirt! This was before I embellished the underdress.

 
Next up – The crown. All my pieces have finally arrived!